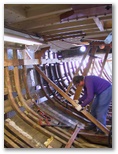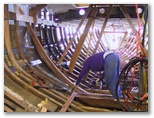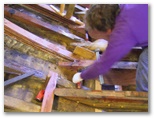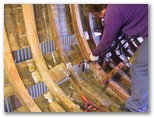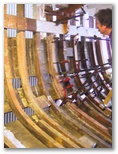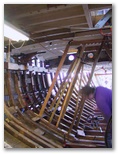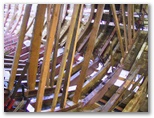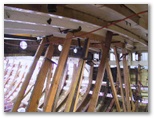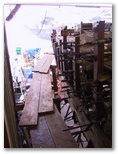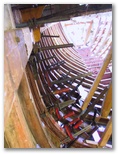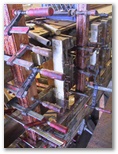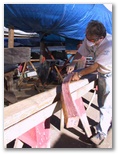
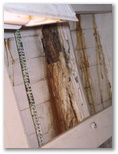
In August, we worked to remove the remaining furniture and sole to reveal the floor timbers and all the frames. During this time, we confirmed the yard shipwrights' initial assessment that there could be enough "iron sickness" in the frames to warrant replacing all of them. The frames are 2 ¾" x 2 ¾" white oak, steamed and placed at 12" intervals. In the midsection, there are additional "intermediate" frames. Many frames looked to be in perfect condition. Steaming oak frames is not an available option for our new frames.
When we removed and split test sections of what looked to be good oak, we found enough iron sickness inside the frames to convince us to go ahead and replace all frames with either doublesawn or laminated frames. We preferred doublesawn frames but realized the added weight and construction cost would limit us in using this method throughout the boat.
We compromised with the decision to use sawn frames in the forward end of the forecastle (frames 1 through 5) and to make every-other-frame in the forward engine room doublesawn (the odd # frames 7-17) with the other half being laminated (even # frames 6-16). In the remainder of the boat, the use of intermediate frames makes it impossibly tight to install doublesawn frames and keep the intermediates. The yard shipwright did advise us that the intermediate frames were extreme "overkill" and might be omitted from the rebuild to save weight and construction cost. However, one of the reasons we selected Mahdee was for her stout construction as designed by SS Crocker. We had read about Crocker's use of intermediate frames in a Bud McIntosh book and we wanted them to remain in the boat.
Initially, the plan was to simply remove odd # frames from 17 forward, replace them as we go with a doublesawn frame using the Angelique on hand at the boat yard and then (when wood for laminating had been procured) remove and replace the even number frames in the forward section of the boat with laminated frames. This method should have allowed us to keep the boat's shape as we went along.
Things don't always go as planned. An industrious yardworker removed the stem and stem knee weeks before the wood could be procured to replace them. An equally energetic yardworker, tasked with removing the cap rail from the foredeck bulwark, went ahead and removed the frame tops extending through the deck as stanchions as well as the bulwark planking and covering board. Four station molds were put in place to ensure the integrity of the shape until the yard had time for the shipwright or a yard carpenter to begin work on the doublesawn frames and new floors.
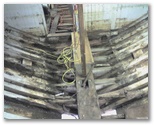
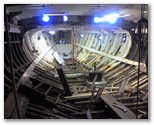
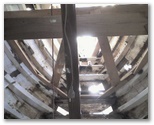
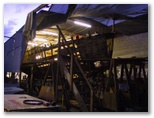
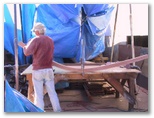
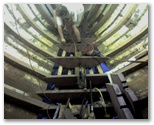
Left: temporary station molds
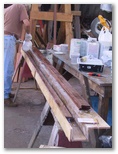
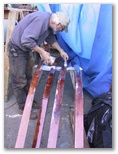
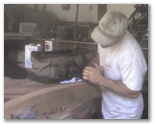
Below left: sawn frame futtock being made
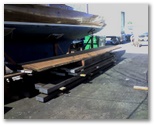
Below right: delivery of wood including purpleheart for floors
The floors are constructed of a tropical hardwood, Purpleheart (Peltogyne spp. Family: Leguminosae). It is extremely rot resistant. The original floors were white oak. We initially looked about for large white oak timbers, but determined the wood couldn't be easily procured in the large dimensions and thicknesses needed. The cross section, of some mid-section floor timbers, is up to 5" thick by 9" to 11" tall.
The sawn frames are constructed of another rot resistant hardwood, Angelique (Dicorynia guianensis). We should have been able to procure white oak 3" thick for the sawn frames. The angelique was available in the yard and has superior rot resistance.
The floors are installed with drifts (odd # stations forward of #15) and keelbolts ranging in diameter from 5/8" to 1" silicon bronze. The doublesawn frames are bolted together and to the floors with 3/8" silicon bronze carriage bolts. The frame-to-planking fasteners are #18 and #16 silicon bronze screws.
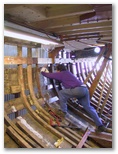
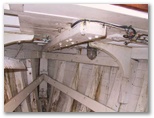
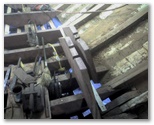
Above right: view of doublesawn frames and new floors
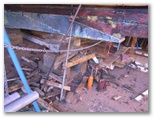
Left: debris from frame and floor removal
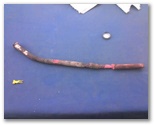
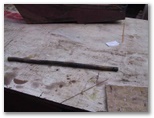
Far left: Drift removed. While the top is bright and shows little corrosion, the bottom is pink all the way through. The drifts removed from the floors were all found to be in poor condition but this one is probably the most corroded we've pulled.
Left: Keelbolt removed. The keelbolts all have been very stubborn to remove, but they have been in surprisingly good shape.
Far left:
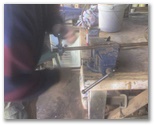
David threads a section of bronze rod for a keel bolt.
Left: Renee and David use a right angle drill to place a 2 1/4" counterbore in the lead keel for the nut at the bottom of a 7/8" diameter keelbolt. It takes two people to hold the drill steady. To peform this task, a counterbore bit is fit with a special pilot that is the same diameter as the keelbolt.

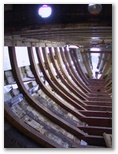
Far Left: The doublesawn frames are complete and it is time to move on to laminated frames. In this photo, the first four (stations #6, #8, #10, #12) laminated frames are in place. The rest are doublesawn.
Light: The shed roof is too low to allow laminated frames to be dropped in behind the clamp. As the autumn daylight wanes, more planking above the waterline is removed to enable bending in place the laminated frames. The boat "glows" with the light of work going on inside.
