Back
to Schooner Mahdee Frames and Floors
Click on a picture to see a larger view
To
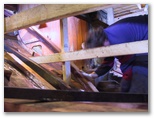
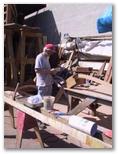
the left, David is dust-vac'ing the boat's midsection and preparing to move aft
to the engine room area to remove floors, frames, and put in new ones. To the
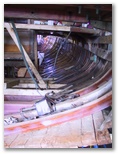
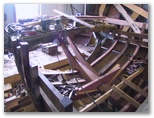
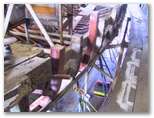
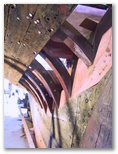
right, and below right, there are frame patterns between the new purpleheart floors.
The ribbands are in place so the laminated frames can be bent against them. In
this, the aft section of the boat, because we replaced the countertimber, a lot
of planking was removed. Thus, ribbands and patterns were needed to bring things
back to a position where the new laminates would fit in just like the original
frames did. | |||
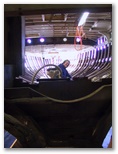
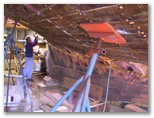
Left,
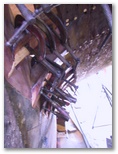
Brenda took the picture up from below Mahdee on the port side. John is helping
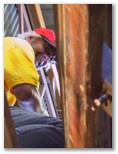
David bend in new laminated frames. Below left, you can see David on the inside
of the boat taking the laminated frame that John is handing into the boat. David
is placing it along next to its floor where it will be clamped in place to the
right shape. | |||
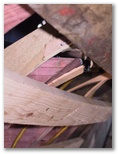
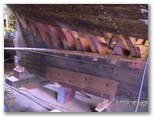
To
the right, the picture is taken looking through the hole where the transom will
be. The view is of the laminated frames on the starboard side. The mahogany (sapele)
frames are laminated with epoxy (West System) and have some filler in the epoxy
which shows up here as white looking areas where the epoxy is a bit thicker along
the sides of the laminates. | |||
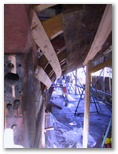
To
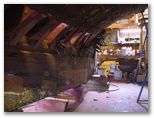
the left, in addition to seeing the transom which is being rebuilt, you can see
the new purpleheart floors under the cockpit sole area as well as the laminated
frames. To the right, this is a picture of the starboard section just forward
of the transom. Every other frame is "new" laminated. The old ones are
just there to "keep the shape" of the boat. After the new frames have
been fastened in place, the old (every other one) are removed and laminated frames
laid in where the old ones had been. | |||
---------------------------------------------------------------------------------------------------------------------------------------------------------------------
| |||
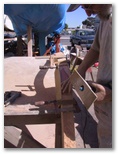
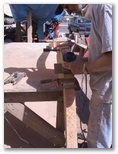
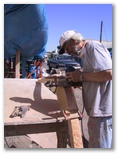
The above picture series shows, first, John surrounded by frames waiting to be installed. Then, came a frustrating frame to work on. We can see that John is using a router to remove a section of a laminate that had a defect. Normally there are no defects but if there is one it would usually be a small void that is filled with thickened epoxy to repair it. Here, the outer laminate didn't follow the proper contour/shape of the frame and hull. Instead it had a void behind it. So, John replaced the defective area with new wood. To get a perfect fit, he removes the old laminate with the router bit and then epoxies the new one in place. Later, John ended up having to re-do this frame again per the yard shipwright guidance on repair design for these laminated frames: Following that design, he cut through the outer 4 to 5 laminates and replaced the entire "elbow" section of the frame. So,this frame was repaired twice! Fortunately, out of 111 individual frames (including intermediates) in the Mahdee, only 3 frames required any real repairs! | |||
| |||
Left
and right, you can see the laminated frames on the aft section of the Mahdee.
They were very difficult to fair (fare?) in place. In some places, David removed
excess mahogany laminates and in other places he had to add on additional laminates
(c-clamped in place) in order for the final lines to be right for planking. Below
are 3 pictures of the port side having new wood shims laminated in place to provide
the correct shape. | |||
| |||
---------------------------------------------------------------------------------------------------------------------------------------------------------------------------- | |||
Here,
David is using a board across all the frames/floors to ensure that the shape is
right on the starboard side. It if it not right, additional shims will be added
or the frames will be sanded down a bit. | |||
