Back to Schooner Mahdee Countertimber
Click on a picture to see a larger view
After deciding the counter timber should be completely
replaced instead of repaired, in our normal fashion, we've jumped in and began
the work to complete this important project. Images are included here in categories
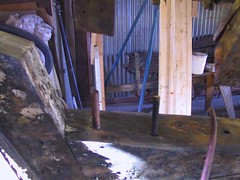
that we thought would interest our readers. First we removed the cockpit. You'll
see a couple pics below of the gaping area this left open to access the top of
the timber. Then, we moved on with "bracing" the aft end
of the boat so the original counter timber aka "tailfeather" could be
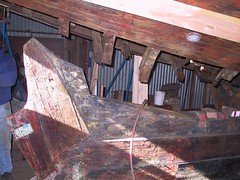
removed without the boat losing shape. You'll see several pics of 2x4 and 2x6
construction lumber providing this bracing inside and outside of the boat. John
drew on his experiences working on large wood boats to quickly put together this
strong bracing system for Mahdee. After bracing, plywood patterns were made of
all the the frames (heels) that would have to be cut back. Then, David removed
numerous drifts and keelbolts (3 and almost 4' long) holding the tailfeather,
deadwood, and keel together. Then, the frames were cut back (they will be replaced
later) to allow a pattern to be made of the entire tailfeather. Finally, the old
tailfeather was removed. Once it was removed, the deadwood wedges under it was
removed because of iron and other debris under the deadwood wedges. They were
re-drifted and re-bolted into place. The aft section of the sternpost was cracking and in bad shape. John had been poking fun at it since the project started, so we replaced it as well. The wood keel, aft of the lead keel, had a couple "cheek" pieces along its lenght and we removed these to inspect the keel. They were in bad shape, but the keel itself is in good shape. The large cheek pieces will be replaced with oak we purchased for this purpose. Finally, David and John had noted that there was a hole big enough for a rabbit up into the worm shoe that runs aft from the lead keel for about 4 feet. It meets up with another worm shoe and bronze plate that runs back almost to the stern post. David removed this worm shoe for replacement.
| ||
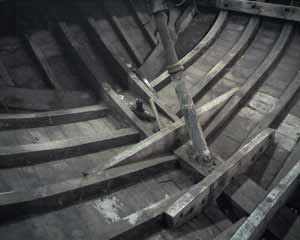 | 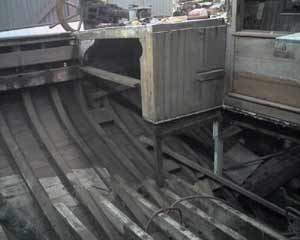 | 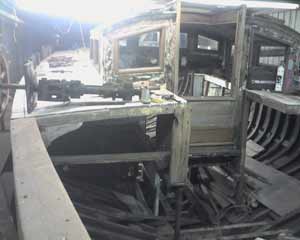 |
| Above, we are looking aft at the area where the cockpit was removed | Port side looking forward | Another view looking forward |
___________________________________________________________________________________________________________
| ||
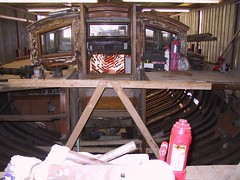 | 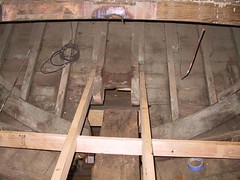 | 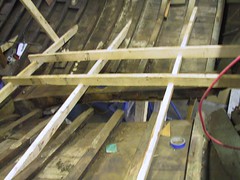 |
| Bracing just aft of the chart house (above) | In this pic, above, the knees along the aft end of the tailfeather have already been cut away | Bracing side-to-side above the tailfeather |
___________________________________________________________________________________________________________
| ||
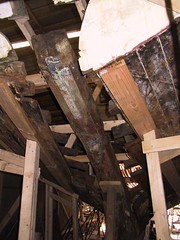 | 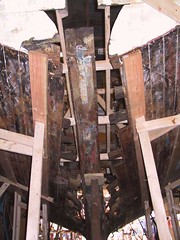 | 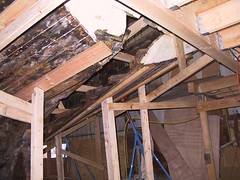 |
| Looking up at the tailfeather from the starboard side | Looking straight up at the tailfeather, here you can see the bracing inside (above the tailfeather) and outside as well | In this picture, the tailfeather has already been removed |
___________________________________________________________________________________________________________
| ||
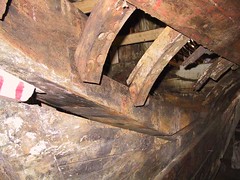 | 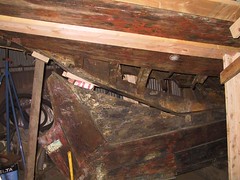 | 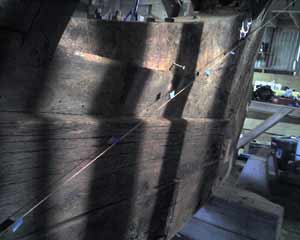 |
| The long keelbolts holding the tailfeather in place are removed and the large timber is being lifted away from the keel and deadwood here | Here is a good picture of the timber as it is lifted above the sternpost and deadwood | Before the tailfeather was removed, measurements were taken and a pattern made for the new tailfeather |
___________________________________________________________________________________________________________
| ||
 |  | 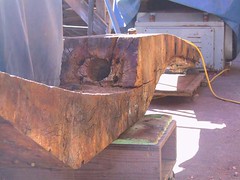 |
| In most places, we used new drifts, but this huge drift was driven in from the bottom of the keel up through the deadwood; as it was in good shape, and we cannot dig a hole in the ground to work with bolts from the bottom, we reused it to fasten the deadwood wedges back in place. | One of the deadwood wedges out, one to go... | The tailfeather, out of the boat |
___________________________________________________________________________________________________________
| ||
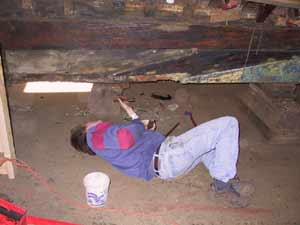 | 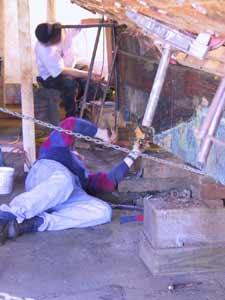 | 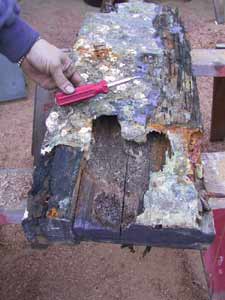 |
| David works under the keel to remove a worm-eaten and heavily epoxied worm shoe | John works on the sternpost while David crawls around under the boat removing bad wood | The barnacle and epoxy encrusted worm shoe has big holes but it did its job of protecting the main wood of the keel |
___________________________________________________________________________________________________________
| ||
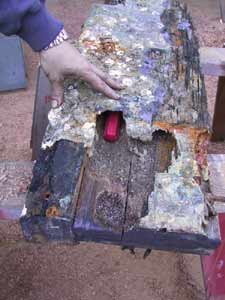 | 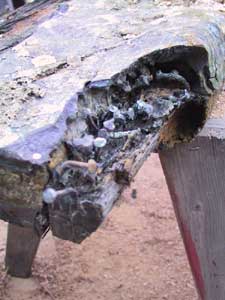 | |
| Some of the worm holes are very big | There is a small forest of nails on the worm shoe; they were covered in epoxy so were probably there to hold it in place | |
___________________________________________________________________________________________________________
| ||
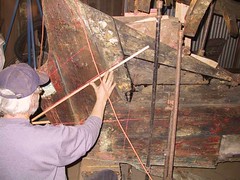 | 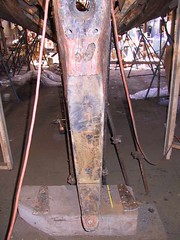 | 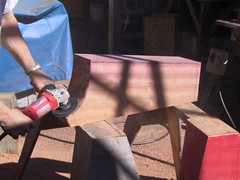 |
| After David re-packed and attached the deadwood wedges with drifts and bolts, John is marking the location of existing drifts and bolts in red chalk; a new aft section of the stern post will be drifted and bolted through this maze | The old stern post is removed and we look at the location of drifts that we must work around | John works with a "chunk" of purpleheart to make the rough outline of the aft section of stern post |
___________________________________________________________________________________________________________
| ||
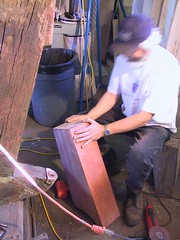 | 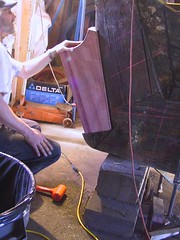 | 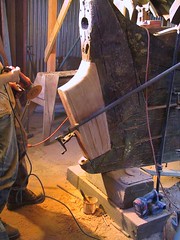 |
| He test fits the piece | Now to see how much to take off of the chunk to make it fit... | John shapes the wood in place with a sanding disk |
___________________________________________________________________________________________________________
| ||
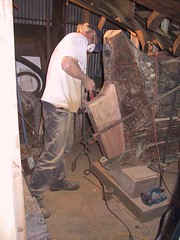 | 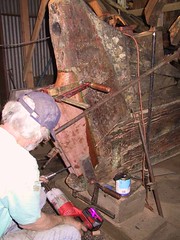 | |
| And, sands some more... | Now, the holes for the drifts and bolt are pre-drilled while the wood is clamped firmly in place | On to FINAL PROGRESS of Countertimber Here |